原由
很多用hexo搭建博客的同学都是用的简介大方(性冷淡)的next主题,我大概是两年前搭建的博客,一直没怎么打理,最近发现之前用的评论插件多说已经停止服务了,另外找的一个国外的系统disqus又需要用户翻墙,找了一圈,终于找到容易使用而且同样简洁大方性冷淡风格的插件Valinejs,配合Leancloud还挺好用,另外做了版本的升级,这里给出评论的设置过程以及升级过程中遇到的问题和解决办法。
升级
hexo升级
因为换了新电脑,就直接把博客建在新电脑上了,直接npm install hexo-cli -g安装最新版本的hexo,我这里是3.6.0。然后:
1 | hexo init blog |
完成后把之前的source文件夹和博客配置文件拷贝过来,值得注意的是,博客用到的图片是放在public/images目录下的,所以还要把之前的图片拷贝过来。完成之后运行hexo g && hexo s,如果一切正常的话,打开浏览访问http://localhost:4000/就可以看到我们的博客了。
next主题升级
最新的next主题版本是5.1.4,又集成了很多服务,其中就有我们要的可用的评论插件。我们直接在博客根目录运行:
1 | git clone https://github.com/iissnan/hexo-theme-next themes/next |
如果是在之前的博客里进行升级就先把主题配置文件备份然后删掉/themes/next之后再运行上述命令下载最新的next。
新版本的next在配置文件上有很多break change,这也是在升级过程中会遇到的坑,具体在更新日志可以看到。我们不能直接把之前的配置文件直接粘贴到现在的主题根目录里,而是要对照之前的配置和break change在新的配置文件中做改动。下面详细说一下:
- 关于favicon。从之前的
-favicon: /favicon.ico变成:1
2
3
4
5
6
7favicon:
small: /images/favicon-16x16.png
medium: /images/favicon-32x32.png
apple_touch_icon: /images/apple-touch-icon.png
safari_pinned_tab: /images/logo.svg
#android_manifest: /images/manifest.json
#ms_browserconfig: /images/browserconfig.xml
上面的这些文件都可以在这个网站上上传一张图片制作得到。然后把对应的文件路径填上去即可。图片可以放在hexo-site/source/或者hexo-site/themes/next/source/images/。这里建议放在前者,不过这样的话就要把路径中的/images去掉。
- 关于动画设置。从之前的
use_motion: true变成:
1 | motion: |
如果你发现你的页面变成空白,一个可能是这里的原因,一个可能是github网络的问题,等一会儿就好了
关于sidebar。去掉了
offset_float:12,如果发现你的侧边栏不见了的话检查是不是这个选项没去掉。关于menu&sidebar icons。菜单栏和侧边栏的社交图标设置方式都改的更简洁了。如果你发现图标变成问号,那就是这里的配置没有改过来。
1
2
3
4
5
6
7
8
9
10
11
12
13
14
15
16
17
18
19
20
21
22
23
24
25
26
27
28menu:
- home: /
- #categories: /categories/
- #about: /about/
- #archives: /archives/
- #tags: /tags/
- #sitemap: /sitemap.xml
- #commonweal: /404/
+ home: / || home
+ #about: /about/ || user
+ #tags: /tags/ || tags
+ #categories: /categories/ || th
+ #archives: /archives/ || archive
+ #schedule: /schedule/ || calendar
+ #sitemap: /sitemap.xml || sitemap
+ #commonweal: /404/ || heartbeat
social:
+ #GitHub: https://github.com/yourname || github
+ #E-Mail: mailto:yourname@gmail.com || envelope
+ #Google: https://plus.google.com/yourname || google
+ #Twitter: https://twitter.com/yourname || twitter
+ #FB Page: https://www.facebook.com/yourname || facebook
+ #VK Group: https://vk.com/yourname || vk
+ #StackOverflow: https://stackoverflow.com/yourname || stack-overflow
+ #YouTube: https://youtube.com/yourname || youtube
+ #Instagram: https://instagram.com/yourname || instagram
+ #Skype: skype:yourname?call|chat || skype关于footer。
这个没什么好说的。以前的配置:
1 | -# Specify the date when the site was setup |
现在的配置:
1 | footer: |
添加评论插件和阅读量计数
发现多说停止服务以及disqus需要翻墙用户才能留言之后,我几乎找了所有hexo支持的评论系统,都因为各种各样的问题放弃掉,最后选择了valinejs+leancloud的方案。具体过程如下:
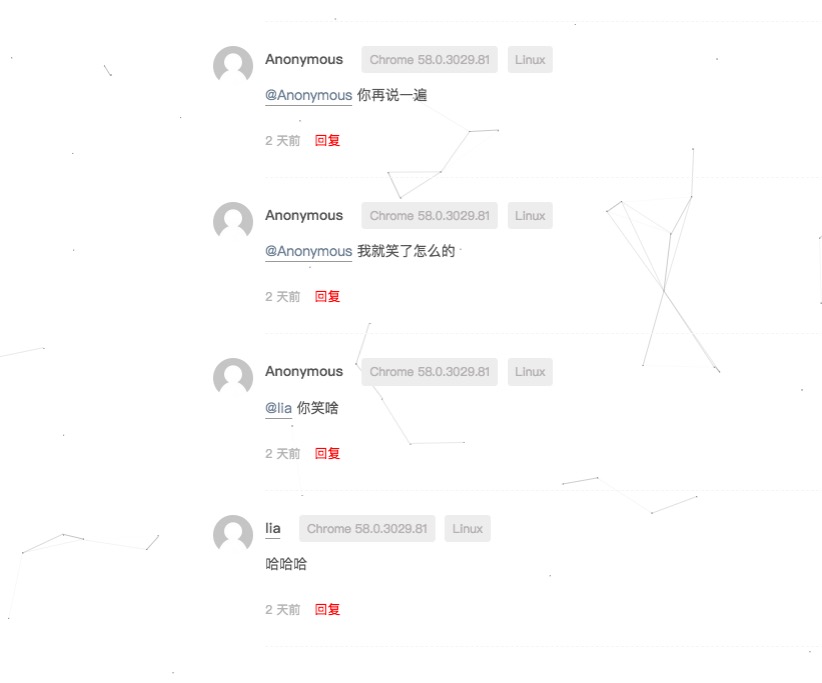
添加评论
添加评论很简单,在主题配置文件中找到以下部分:
1 | valine: |
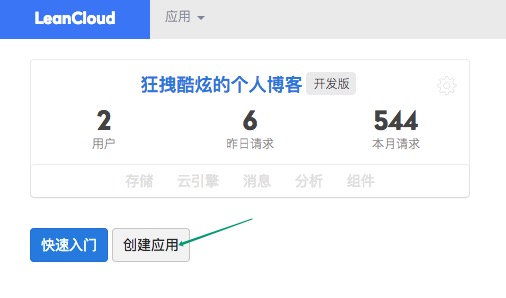
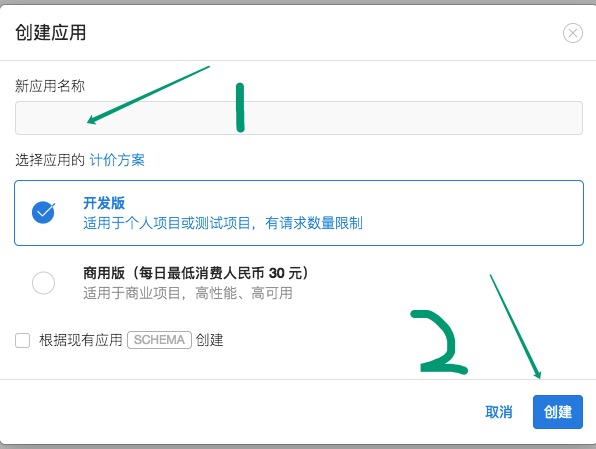
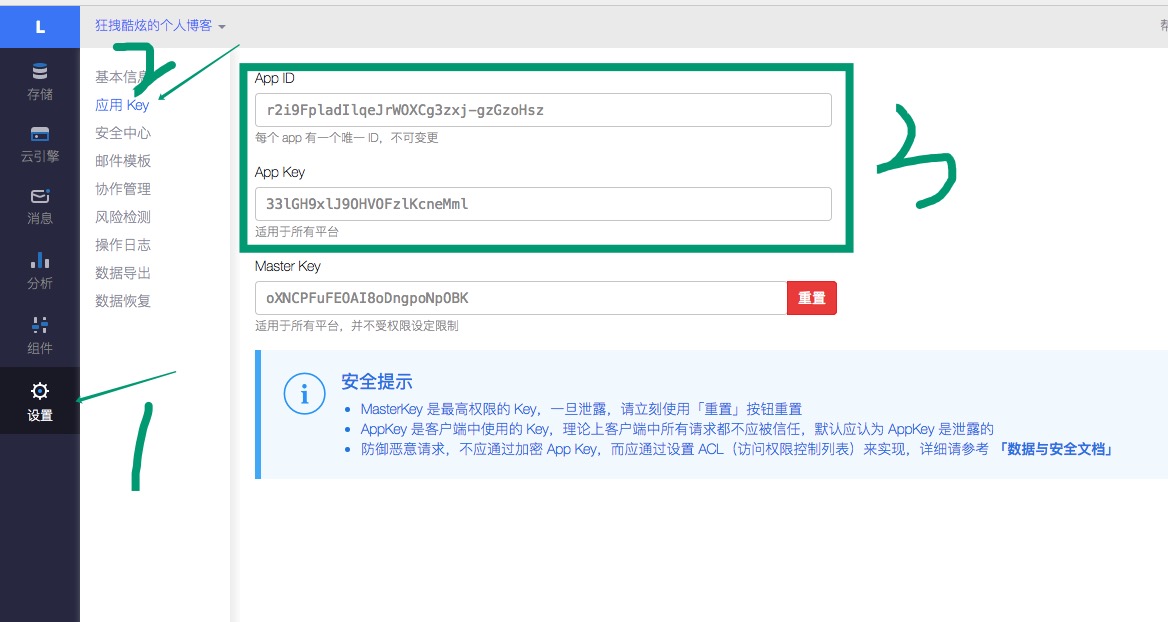
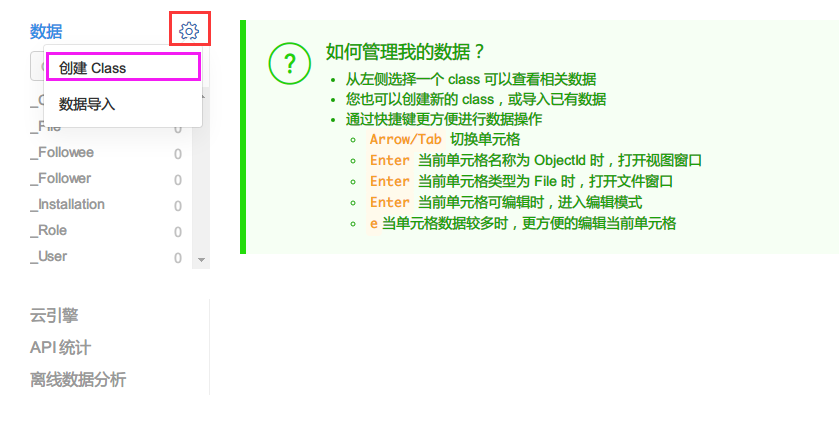
去leancloud创建一个应用,将得到的appid和appkey填到这里。

添加统计量
首先在主题配置文件中找到以下部分:
1 | leancloud_visitors: |
同样,天上你在leancloud上的appid和appkey。
然后按照官方给的教程添加统计量。
教程前面划掉的部分是之前版本的做法不用管。注意一定不要漏掉一步,如果你发现你的统计量没有显示出来,那是因为你少了下面这步:
如果你发现你的页面一片空白或出现下面的提示:

那是因为你没有将你博客的域名添加到安全域名。
如果一切正常的话,你就可以使用评论你功能啦~